You and your blog readers can keep up with the latest posts from Latter-day Saint Blogs and Official Websites of the Church of Jesus Christ of Latter-day Saints right on your own Blogspot Blog by adding the Latter-day Saint Blogs gadget to the sidebar.
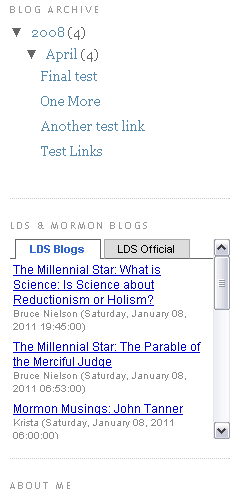
The gadget has a number of options to let you customize how it looks and which tabs are displayed. Here is a live, fully functional preview of the gadget:
-
Log into your Blogger.com account and go to the "Design" section of your blog where you can add and arrange your "Page Elements".

-
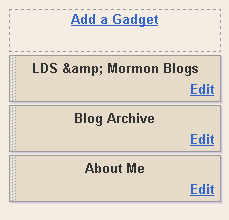
Find the section of the page you want the Latter-day Saint Blogs gadget to be displayed, like the sidebar, and click on the link that says "Add a Gadget".
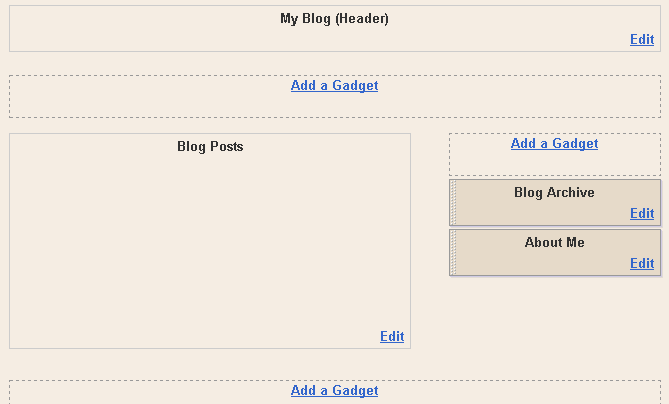
-
A new "Add a Gadget" window will pop up. Find the link on the left that says "Add your own" and click it.
Then copy and paste the following URL into the box labeled "Enter the URL for a gadget that you want to add to your blog":
https://nothingwavering.org/gadget/nothingwavering.xml
Then click the "Add by URL" button.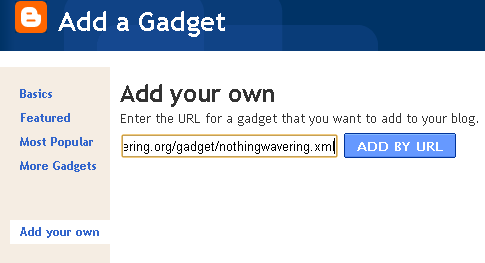
-
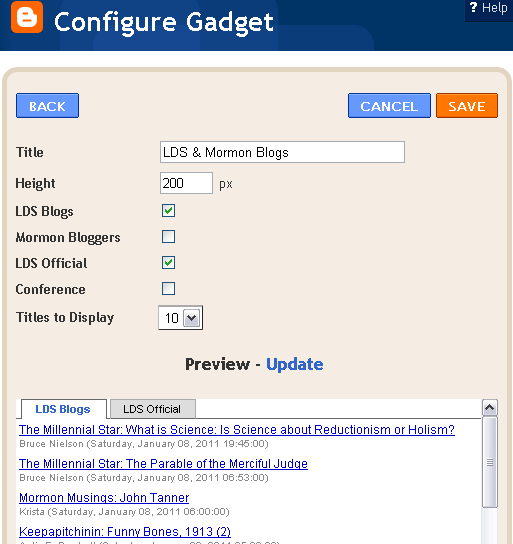
You will now see some options for you to customize how the gadget will look like and what it will show. Change the settings according to your preferences and then click the "Save" button.
-
The popup window will close and you will now see the Latter-day Saint Blogs gadget listed in the section of the page you clicked earlier.
You can drag and drop it to move it up or down to where you want it placed in relation to any other items.
Click the "Preview" button to see what it will look like on your blog. You can click the "Edit" link to reopen the gadget configuration options if you want to change them after previewing.
Once the gadget looks good in preview, click the "Save" button.
-
You're done! You should now be able to see the Latter-day Saint blogs gadget on your blog.