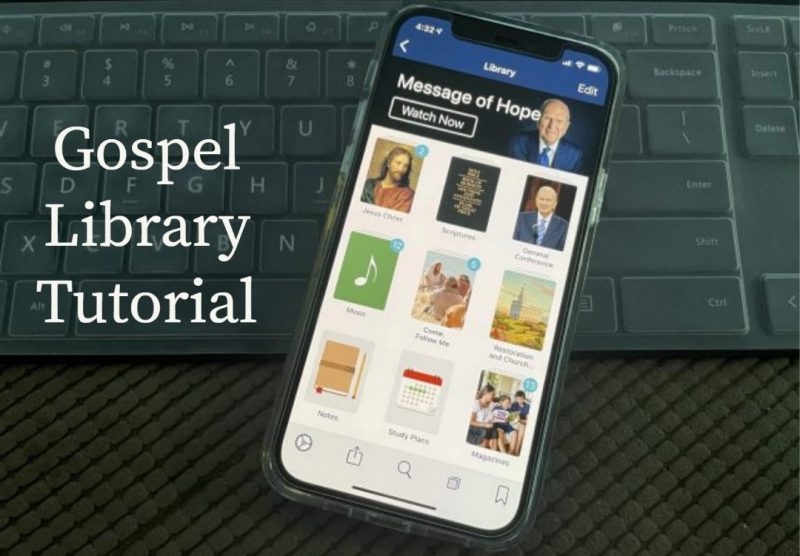
Do you know about all the study tools available in the Gospel Library mobile app?
In the Home section, under “Study Tools,” you will find four items: Annotations, Tags, Notebooks, and Study Plans.
Annotations
Annotations has all of the marks and notes you’ve created in Gospel Library, with the newest on top. You can use the Annotations section to review what you’ve been marking or studying recently or to go back and find something from a long time ago.
Tags and Notebooks
Tags has the list of any tags you’ve created. From here, you can browse content you’ve tagged or manage your list of tags.
Notebooks has a list of your notebooks. You can add, edit, and remove notebooks or add new notes using the floating plus button inside a notebook. When you’re inside a notebook, tapping the Edit button allows you to remove or reorder things you’ve added to the notebook.
You can remove an entire tag or notebook by swiping it out of the list. You can also rename it by entering edit mode then tapping the tag. Both lists also have a filter bar and sort menu that make it easier to find a specific tag or notebook if the list is long.
Study Plans
Creating a study plan allows you to set goals and track progress in reading a specific book, manual, magazine, or conference.
To create a study plan, go to Home > Study Plans. Then tap Create Plan (if it’s your first plan) or the floating plus button to bring up the study plan wizard.
The wizard will guide you through the process of choosing a book, setting a schedule, and adding reminders (the schedule and reminder steps are optional). Then it will create a plan with a checkable list of chapters or reading segments.
You may want to take a few minutes to read through the Gospel Library User Guide. You may discover many features that you didn’t know about.
The post How to Use the Study Tools in the Gospel Library App first appeared on LDS365: Resources from the Church & Latter-day Saints worldwide.
Continue reading at the original source →


